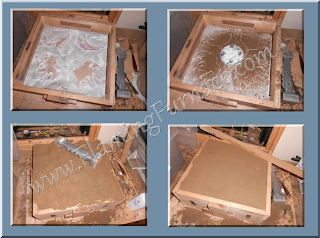
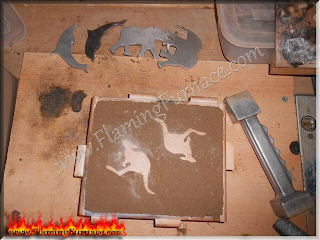
This is my first post for 2013, in this post I will explain how I created decorative animal shapes casted from aluminum. I decided I wanted to make a big toy drawer to clear all the mess in my kids room, at first I thought of making just MDF shapes and paint them but then I thought it will be really cool if the animal shapes where from solid shiny aluminum. I collected some scrap metal and came across an old unused pressure cooker, so I decided to melt it in my homemade foundry and recycle it into something new. The first step was of course creating the casting patterns. I used 5mm MDF to create the elephants, dolphins and kangaroo pattern and green sand to create the sand mold impression.
I started first making the sand mold for the elephants and dolphin's. As you can see the flask was a bit small for the kangaroos pattern so I used another smaller wooden flask for them. I also used green sand in order to create the pattern impressions in the sand, the process was easy working with a flat pattern.
After casting the aluminum animal shapes I cleaned all the extra aluminum with a metal file then sanded it with an electric sander. Once the cleaning part was done it was time to drill the brass screw holes and to start the polishing process. I think this process is the most time consuming part and it takes a lot of patience to get a
good result ;-)
I was really happy with the final results and it looks very nice hanging on the new toy drawer. I'm now thinking on how to create a larger pattern of some sort of shape but that's for a future post when i"ll have a new idea ;-)


